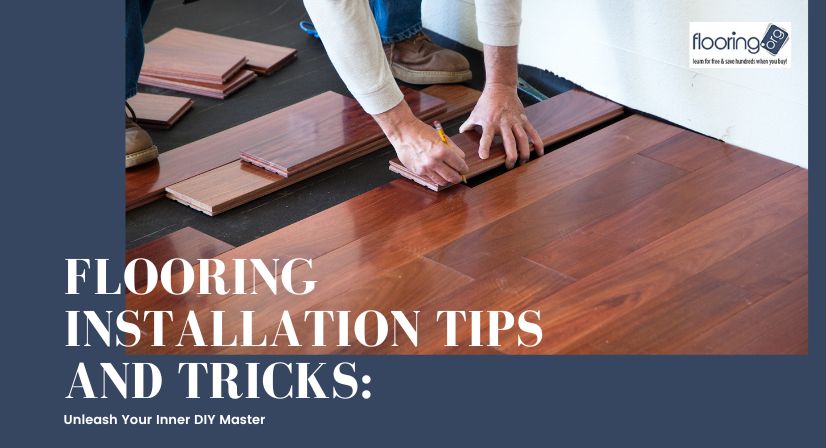
Flooring.org empowers you to transform your home with beautiful, high-quality floors. But did you know that installing your chosen flooring can be a rewarding DIY project? Don’t be intimidated by the process! With a little preparation and some handy tips, you can achieve professional-looking results, even with unfinished hardwood flooring or discount finds.
Here are some key things to consider for a smooth and successful DIY flooring installation:
Preparation is Key
- Subfloor Check:Ensure your subfloor is level, clean, and free of debris. Unevenness can lead to creaking floors and installation headaches. For unfinished hardwood, a flat subfloor is crucial for a seamless sanding and finishing process.
- Acclimatization:Let your new flooring (especially unfinished hardwood) acclimate to the room’s temperature and humidity for at least 24-48 hours before installation. This prevents warping or buckling once installed.
- Gather Your Tools:Depending on the flooring type, you’ll need a variety of tools like a jigsaw, hammer, pull bar, spacers, and a tapping block. Flooring.org offers installation kits specifically designed for your chosen flooring, making it even easier to get started.
Flooring Type Specific Tips
Unfinished Hardwood
- Planning is Crucial: Plan your layout beforehand, considering plank direction, pattern (straight or staggered), and location of cuts. Unfinished hardwood allows for greater design flexibility, but requires meticulous planning.
- Cutting with Confidence: Invest in a quality saw and practice cutting scrap pieces before diving into your actual planks.
- Sanding and Finishing: Once installed, sanding and finishing unfinished hardwood requires dedicated time and effort. Ensure proper ventilation and follow the manufacturer’s recommended finishing products for a flawless look.
Laminate Flooring
- Click and Lock: Most laminate floors utilize a click-lock system for easy installation. Familiarize yourself with the locking mechanism before starting.
- Expansion Gap: Remember to leave a small expansion gap around the perimeter of your room to allow for natural contraction and expansion of the flooring.
Luxury Vinyl Plank (LVP)
- Peel and Stick Magic: Many LVP options come with a self-adhesive backing, making installation a breeze. Simply peel, stick, and connect the planks seamlessly.
- Underlayment is Key: Don’t skip the underlayment! It provides cushioning, soundproofing, and moisture protection.
General DIY Pro Tips
- Work in Sections: Lay the flooring in manageable sections, starting from a corner and working your way outwards. This ensures a clean and accurate installation.
- Don’t Force It: If a plank isn’t fitting easily, check for unevenness or debris. Don’t force it into place, as this can damage the flooring.
- Utilize Online Resources: Flooring.org offers a wealth of resources, including installation guides, videos, and FAQs, to help you with your project. Leverage them for additional guidance!
Flooring.org: Your One-Stop Shop for DIY Success
Whether you’re tackling unfinished hardwood or exploring discount hardwood floors, Flooring.org has everything you need for a successful DIY flooring project. Browse our extensive selection of high-quality flooring at competitive prices, and equip yourself with the knowledge and tools to achieve stunning results. With a little planning, these tips and tricks will have your new floor looking like a professional installation in no time!


